Here’s something I found in my archives. If it sounds and looks like a school project report, that’s because it is! I was taking a networking class circa Spring 2013 that covered Linux, telnet, ssh, and other networking tools. In this report, I covered down on SSH, SCP, and WebDav.
Introduction
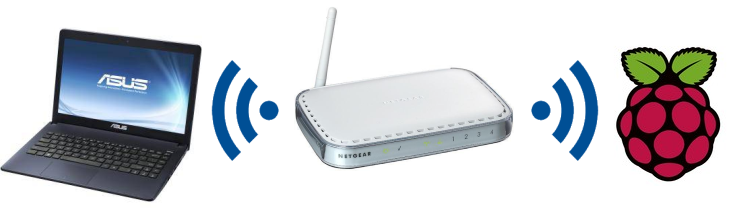
I wanted to build a remotely accessible file storage and media center using the Raspberry Pi. Files would be stored on a home network (external hard drive) and be made accessible over the web with login credentials. The goal was to create a file server to keep private files that can be downloaded from any web-connected machine.
Stuck? Check the Troubleshooting Section!
Setup
I used a Wi-Fi dongle to give the Raspberry Pi wireless access. I also employed a USB hub with mouse and keyboard, and used HDMI output to my HDTV for troubleshooting.
Project Execution
Step 1: Raspbian installation and initial setup
I downloaded the Raspbian image, and then ran Win32 Disk Imager to install it onto the SD card. At this stage, I was able to connect to my HDTV and get started. The first issue I had to resolve was the overscan. I had the issue where the image stretched beyond the limits of my HDTV. To change this, I used the following command:
|
|
After a few tweaks and restarts, I had the Pi display how I wanted it.
Settings:
|
|
Step 2a: Ethernet connection
I configured my Pi for ethernet connection by editing the iface eth0 inet dhcp line in the /etc/network/interfaces file like this:
|
|
Where X is a number between 2 and 255.
Reboot with your Pi and you should be connected!
|
|
Step 2b: Wi-Fi connection
(I haven’t played with this in years, but I’m attempting to get it set up again. I’ll update this section with more detail once I do.)
I didn’t want to run an Ethernet cable to my TV, so next I set up the Wi-Fi by editing the following file:
|
|
I followed the instructions in (http://pingbin.com/2012/12/setup-wifi-raspberry-pi/)[this post], adding my own network information, which I obtained by running ifconfig on my Fedora laptop.
Step 3: SSH
I set the IP to static so I could ssh to the Pi from an external network. I also changed the default ssh port and forwarded this to my Pi, since the plan was to access the Pi from the web. This article has some great pointers on setting up SSH. Once I had the ssh server set up, I could remote into the Pi and install software and move files around from both internal and external networks. I did all the work from this point forward remotely, and so did not need the keyboard, mouse, or HDTV. I also played around with the scp command, and was able to copy files between my Fedora laptop and the Raspberry Pi.
SSH connection:
|
|
SCP - this command copies the contents of file scptest3 from the Fedora laptop to the desktop of the Raspberry Pi, and renames it scptest.
|
|
This copies the file “scptest” from the Pi to the Fedora desktop:
|
|
Additionally, I set up the program Putty on my Windows 7 machine, which allows for ssh into a Linux machine from a non-Linux machine. Having multiple machines to ssh into the Pi gave with me a little more flexibility.
Step 4: Owncloud
I then set up Owncloud. I found the tutorial while searching for Raspberry Pi cloud options. I used the script from the link shown in the sources section.
install path: /etc/apache2/sites-available/
directory path: /var/www/owncloud/data
Once the script was finished, I used sudo mkdir /var/www/owncloud/data to create a directory, then sudo cat > file.txt to create a file, and was able to view the file via a web browser. Google Chrome gave me warnings about SSL (secure socket layer) certificates not matching, but Firefox allowed me to add an exception.
Cloud access to download the files: https://ip-address-of-raspberry-pi/owncloud
Step 5: WebDAV
It bothered me that I was never asked to enter a username and password, which I think was just a missing step on my part, so I did a little further research.
I found a tutorial on using WebDAV (http://www.head4space.com/pidav-webdav-raspberry-pi-tutorial-part-two/)[here]. Since I already had the Apache server installed, I gave it a shot.
I got to this step: sudo nano /etc/apache2/sites-available/default. The guide says I would be prompted for a password, but the command to achieve this is missing from the instructions.
I did a little more searching and found this resource.
This was a little clearer on how to create a user. A user authentication file passwd.dav is first created and then referenced in the ../sites-available/defaults, and then the command: sudo htpasswd –c /var/www/web1/passwd.dav username is entered into the terminal. This prompts me to enter a password, which then updates the passwd.dav file.
I forwarded the port (80, in this case) and am able to connect from an external network.
Directory path: /var/www/web1/web
After following the above instructions, I am able to drop files into this location and see them from the web, but the file must be on the Pi in order to move into this directory. I was able to change the permissions on the www folder so that I could write remotely, but I opted to revert to the following method until I can figure out how to add my remote devices into the user group of the Pi.
Using the following command allows me to scp a file from Dropbox on my Fedora laptop onto Desktop of the Pi:
|
|
Then it’s a simple matter to drop the file into the web folder:
|
|
I also downloaded the app WebDAV File manager on my Droid 4, input the credentials, and am able to upload/download from the server to my phone when the permissions on the Pi’s www folder are set correctly.
Sources
- Raspberry Pi Project Ideas
- Raspbian Linux Download
- Win32 Disk Imager
- Overscan help
- RPi configuration
- Wi-Fi setup with static IP
- Samba Server
- Putty
- SCP
- PiCloud
- Owncloud
- WebDAV Tutorial #1
- WebDAV Tutorial #2
- SSH public key authentication
Parts List
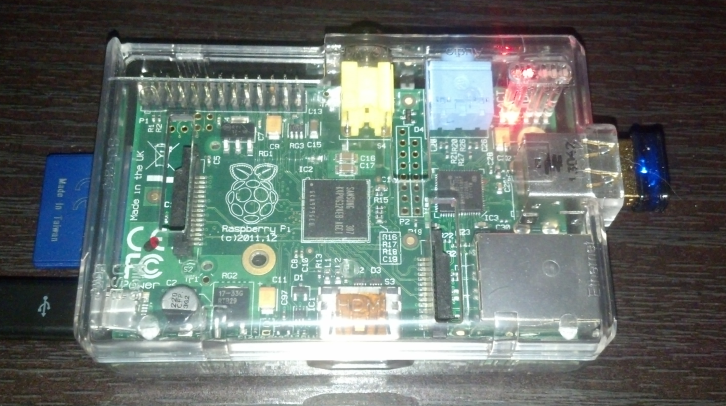
- Raspberry Pi version B
- Raspberry Pi case
- HDMI cable
- 5V1A micro USB supply
- Wi-Fi dongle
- USB mouse and keyboard
- USB hub
- 8G SD card
- Laptop with Fedora installed
- Router
- HDMI display (HDTV)
- Simplesamba.sh
- Owncloud – script also installed Apache, PHP, SQLite
My Takeaway
What I Learned
While setting up this project, I became more familiar with the syntax for file and directory management, the chmod command, and how to set up a web server. I put my googling skills to use and pulled together all of the information I needed to go from the setup and installation of the Raspbian OS, keyboard layout, and Wi-Fi configuration, to SSH access, Apache, and WebDAV file sharing setup.
Issues Encountered
Almost every step forced me to learn something new. I learned how to install the OS onto the SD card (it was similar to other OS installs I’d done before, such as Fedora, and win7 on my personal machines). I learned what files to configure to get Wi-Fi and remote access. I even broke my network files at one point and had to discover how to configure the keyboard layout so I could type the proper symbol to repair the file (#). This also taught me to make a backup of any file I’m about to edit, just in case.
Troubleshooting
sudo: unable to resolve host myhostname
To get around this error, you’ll need to update the etc/hosts file to link your hostname with localhost. Add the following line:
|
|
If you can’t edit the file, you’ll have to remove your SD Card (UNPLUG YOUR PI FIRST!) and insert it into another computer. Find the /etc/hosts file on the SD card and edit it. Note: you may need to edit the permissions on the file before you can change it using an editor. Change the permissions with:
|
|
Don’t forget to put them back when you’re done! The default should be:
|
|